
If your business has a self service screen, a check in station, or a shared display, kiosk mode is not optional. Without it, anyone can click out of your app, open the desktop, or change system settings. That is a real problem when the device is customer facing.
Windows 11 has a built-in feature for this called Assigned Access. It locks a device to one app or a small set of apps. That is all anyone sees on that screen. This guide covers what it is, how to set it up, what settings matter, and what to do when things go wrong.
What Is Kiosk Mode on Windows 11 and Why Does It Matter?
Kiosk mode turns a regular Windows 11 device into a single purpose machine. Think of an ATM. You can only use the banking app. You cannot browse files, open other programs, or touch any settings. Kiosk mode does the same thing for your business device.
When a customer walks up to your screen, they see only what you want them to see. When the session ends, the device resets on its own. You stay in control. Your system stays secure.
Who Should Use It?
Any business running a shared device in a public space can benefit from kiosk mode. This includes retail stores with self checkout or product lookup screens, restaurants and cafes with ordering terminals, hotels and clinics with check in stations, offices with visitor registration screens, and businesses using lobby or waiting area displays.
If a customer is going to touch a screen at your location, kiosk mode should be running on it.
Single App vs. Multi App: Which One Do You Need?
You need to decide between the two types before you start setting anything up.
A single app kiosk locks the device to one app only. The app launches automatically when the device starts. It runs in full screen. It restarts on its own if it crashes. Customers cannot exit it. This is the right pick if your kiosk does one thing, like show a menu, run an ordering app, or display a sign in form.
A Multi app kiosk allows a set list of apps with a restricted Start menu and taskbar. Users can switch between those approved apps, but cannot access anything else. This works better for staff facing devices or kiosks that need to handle more than one task.
Before You Start: What You Need to Prepare
Setting up kiosk mode properly takes a bit of preparation. Most problems come from skipping this part.
What You Need
You need a device running Windows 11 Pro, Enterprise, or Education. The Home edition does not support Assigned Access. Check your Windows version before doing anything else.
You need a dedicated local user account for the kiosk. Do not use an admin account for this. If the kiosk app gets compromised, admin rights make the damage much worse. Create a standard local user with a simple name like KioskUser.
The app you want to run must already be installed on the device. It also needs to be capable of running above the Windows lock screen. Not every app qualifies. Classic desktop Win32 apps have limited support in single app kiosk mode. They work better with Shell Launcher, which is a separate but related Windows feature.
A Note on Windows 10
Microsoft ended support for Windows 10 in October 2025. Devices still running Windows 10 are no longer getting security updates. Any new kiosk you set up should be on Windows 11.
How to Configure Kiosk Mode on Windows 11
There are four ways to do this. The right one depends on how many devices you have and how technical you want to get.
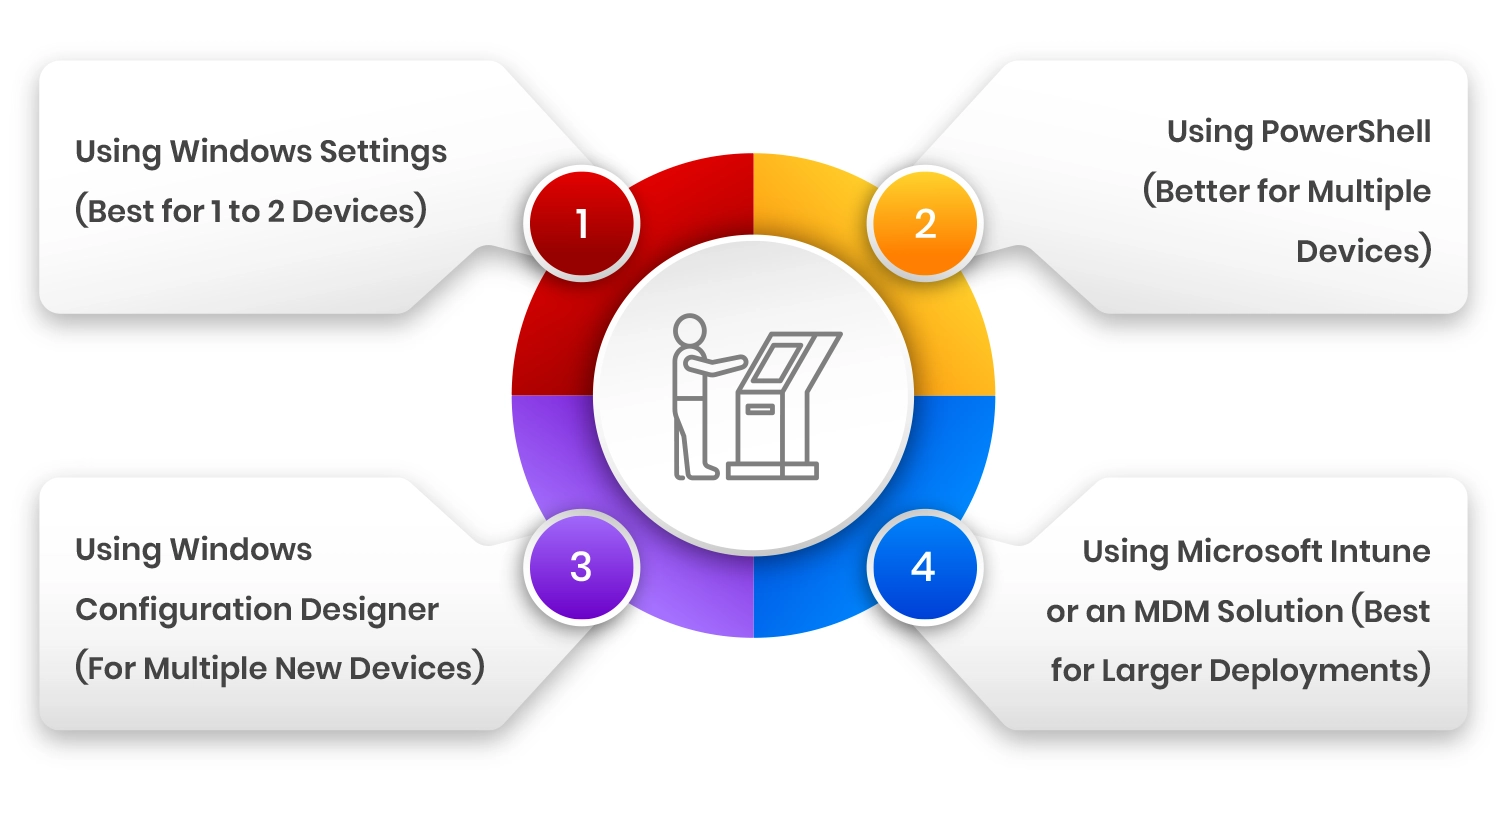
Method 1: Using Windows Settings (Best for 1 to 2 Devices)
This is the simplest option. No technical knowledge needed. The whole thing takes about five minutes.
Step 1: Open Settings and go to Accounts, then Other users.
Step 2: Scroll down to Set up a kiosk and click Get started.
Step 3: Enter a name for the kiosk account or choose an existing local account.
Step 4: Choose the app you want to run. You will see a list of eligible apps. If you pick Microsoft Edge, you will also set a homepage URL, choose between a public browser or digital signage mode, and set an idle timeout.
Step 5: Click Close to finish. Sign out of the admin account and sign in as the kiosk user to check everything is working.
The device should go straight into the app with no access to the desktop, Start menu, or anything else in Windows.
One thing to keep in mind: this method only works for one device at a time. Setting up three or more kiosks this way gets slow, and it is easy to make mistakes.
Method 2: Using PowerShell (Better for Multiple Devices)
PowerShell lets you script the setup and run it across several devices without going through the Settings menu on each one.
The main command is Set AssignedAccess. You use it to specify the user account and the app. You can also run Clear Assigned Access to remove a configuration when needed.
This is more efficient but requires some comfort with running scripts. If you have someone technical helping you, it is worth using. If not, stick with Method 1.
Method 3: Using Windows Configuration Designer (For Multiple New Devices)
Windows Configuration Designer is a free app from the Microsoft Store. It lets you create a provisioning package. That is a file you apply to multiple devices to configure them all the same way.
You build the package once, put it on a USB drive, and apply it to each device. It takes more time to set up than Method 1, but it saves a lot of time when you are working with several kiosks at once.
Method 4: Using Microsoft Intune or an MDM Solution (Best for Larger Deployments)
If you manage five or more kiosk devices, especially across different locations, a Mobile Device Management solution like Microsoft Intune is worth looking into. It lets you push kiosk configurations remotely, monitor device health, push app updates, and set policies from one web dashboard. You never need to physically touch each device.
Intune uses the AssignedAccess Configuration Service Provider and requires an XML file that defines which apps are allowed and which user account the kiosk runs under. It is the most powerful option and also the most technical.
Important Settings to Get Right After Setup
Turning kiosk mode on is just the beginning. Getting it to run reliably in a real business environment requires a few more steps.
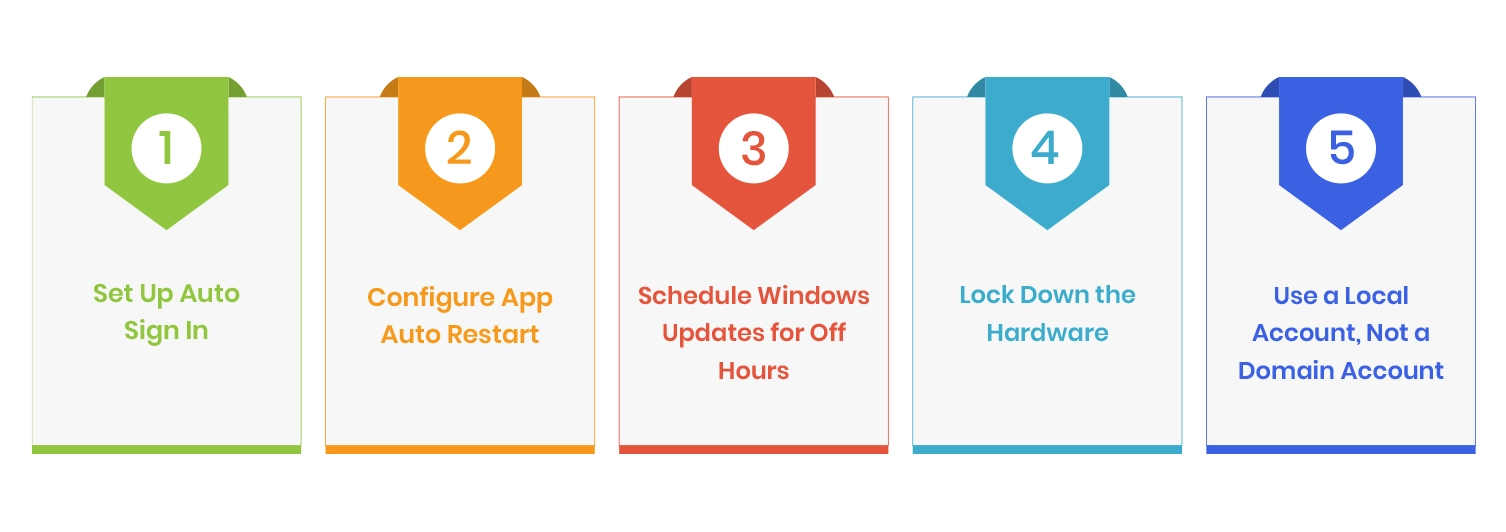
1. Set Up Auto Sign In
You do not want your kiosk sitting at a login screen every time it restarts. Set up automatic sign in for the kiosk user account. The device will then boot straight into the app after a power cut, update, or restart. You can do this in the kiosk setup wizard or through Group Policy.
2. Configure App Auto Restart
In single app kiosk mode, the app restarts automatically if it crashes. That is good. But also make sure the device itself is set to restart after a power outage and sign back into the kiosk account on its own. A kiosk sitting at a black screen during your busiest hour is not a situation you want to be in.
3. Schedule Windows Updates for Off Hours
Windows updates can interrupt a kiosk during operating hours. Set updates to download and install during off hours only. You can do this through Windows Update settings or Group Policy.
4. Lock Down the Hardware
Software lockdown is not always enough on its own. Think about disabling USB ports so nobody can plug in unauthorized devices. You can also turn off the physical power button using Windows Custom Logon settings. In multi app kiosk mode, some keyboard shortcuts are not blocked by default. Microsoft recommends using the Keyboard Filter to handle those.
5. Use a Local Account, Not a Domain Account
For any public facing kiosk, always use a local standard user account for the kiosk session. A domain account can open access to network resources. That is a security risk you do not want on a device customers are interacting with.
Common Problems and How to Fix Them
Even with a clean setup, certain issues come up regularly. Here is what to look for.
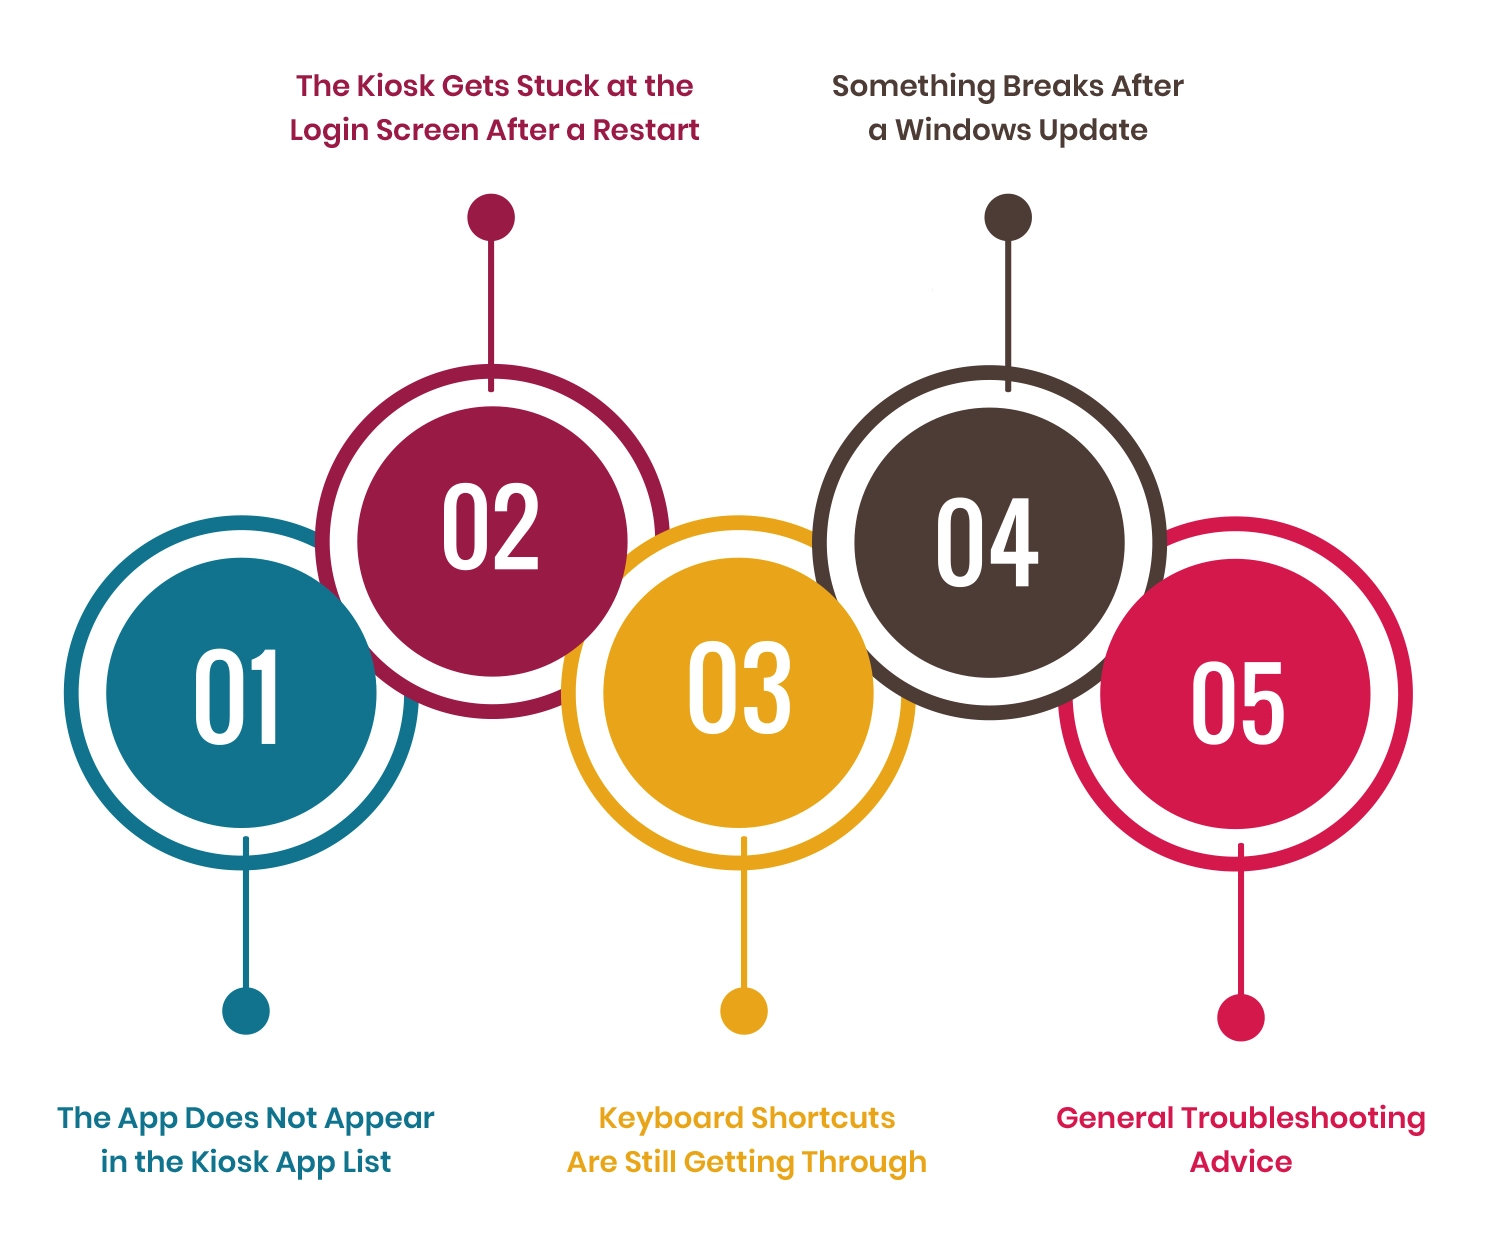
The App Does Not Appear in the Kiosk App List
This usually means the app is not installed for the kiosk user account, or it cannot run above the Windows lock screen. Install the app while signed into the kiosk user account, not just the admin account. Also, confirm it is a UWP app or Microsoft Edge. Classic Win32 desktop apps need Shell Launcher, not Assigned Access.
The Kiosk Gets Stuck at the Login Screen After a Restart
Auto sign in is probably not set up correctly. Check that automatic sign in is enabled for the kiosk account and that no password is required at startup for that user.
Keyboard Shortcuts Are Still Getting Through
In multi app kiosk mode, some shortcuts are not blocked by default. Use the keyboard filter through Group Policy or Windows Configuration Designer to block the ones you do not want users accessing.
Something Breaks After a Windows Update
App updates can sometimes change the Application User Model ID. That is what Assigned Access uses to find and launch your kiosk app. If the kiosk stops launching after an update, check whether that ID has changed and update your configuration to match.
General Troubleshooting Advice
Turn on event logging before you deploy. Microsoft notes that some failure events are only recorded once. If you enable logging after a problem has already happened, those events may be gone. Check Event Viewer under Applications and Services Logs, then Microsoft, then Windows, then Authentication User Interface, then Operational. That is where sign in and auto logon issues show up.
When Windows Kiosk Mode Is Not Enough
Assigned Access works well for simple setups. But it has real limits that businesses run into quickly.
It does not give you remote monitoring. If a kiosk goes down at one of your locations, you will not know until a customer mentions it or someone physically checks it. It does not connect to your existing POS system, booking platform, or CRM. It does not give you any usage data or reporting on how customers are using the screen.
If your kiosk needs to connect to your existing systems, handle payments, or follow a specific customer journey, the built in Windows tools will only take you so far.
That is when a custom built solution starts to make more sense. Linkitsoft builds kiosk software from scratch, designed around how your specific business actually works. If you keep bumping into the limits of Assigned Access, or if your setup is more involved than a standard configuration can handle, it is worth talking to a team that builds this kind of software every day.
Conclusion
Windows 11 kiosk mode is a practical tool for small businesses. It is free, it is built into Windows, and a basic setup takes under ten minutes. For one or two kiosks running a single app, it does the job.
As your setup grows, the built in tools start showing their limits. More devices, more locations, and more complex workflows push you toward additional tools or a purpose built solution.
Start with the Settings method if you are just getting started. Sort out auto sign in, update scheduling, and hardware lockdown before you go live. And know what your kiosk actually needs to do before you commit to a setup.
Frequently Asked Questions
Does Windows 11 Home support kiosk mode?
No. Windows 11 Home does not support kiosk mode. It only works on Pro, Enterprise, and Education. You need to upgrade first.
Can I use any app in kiosk mode?
No. Only supported apps work. Usually, Microsoft Edge or special Windows apps. Normal desktop apps often do not work.
What happens if the kiosk app crashes?
Windows restarts it automatically. It comes back after a short loading screen. No action is needed.
Can I manage multiple kiosks remotely?
Not with basic Windows settings. You need tools like Microsoft Intune or other kiosk software. These let you control all devices from one place.
How do I get back into the device for maintenance?
You can use Ctrl-Alt-Delete and switch to an admin account if allowed. Plan access before setup so you are not locked out later.
Is Windows kiosk mode secure enough for public devices?
Yes, for basic use. It is secure if set up properly. Use a standard account, block USB, and keep the system updated.